
Cheesy Taco Sticks: A Deliciously Fun Snack Idea
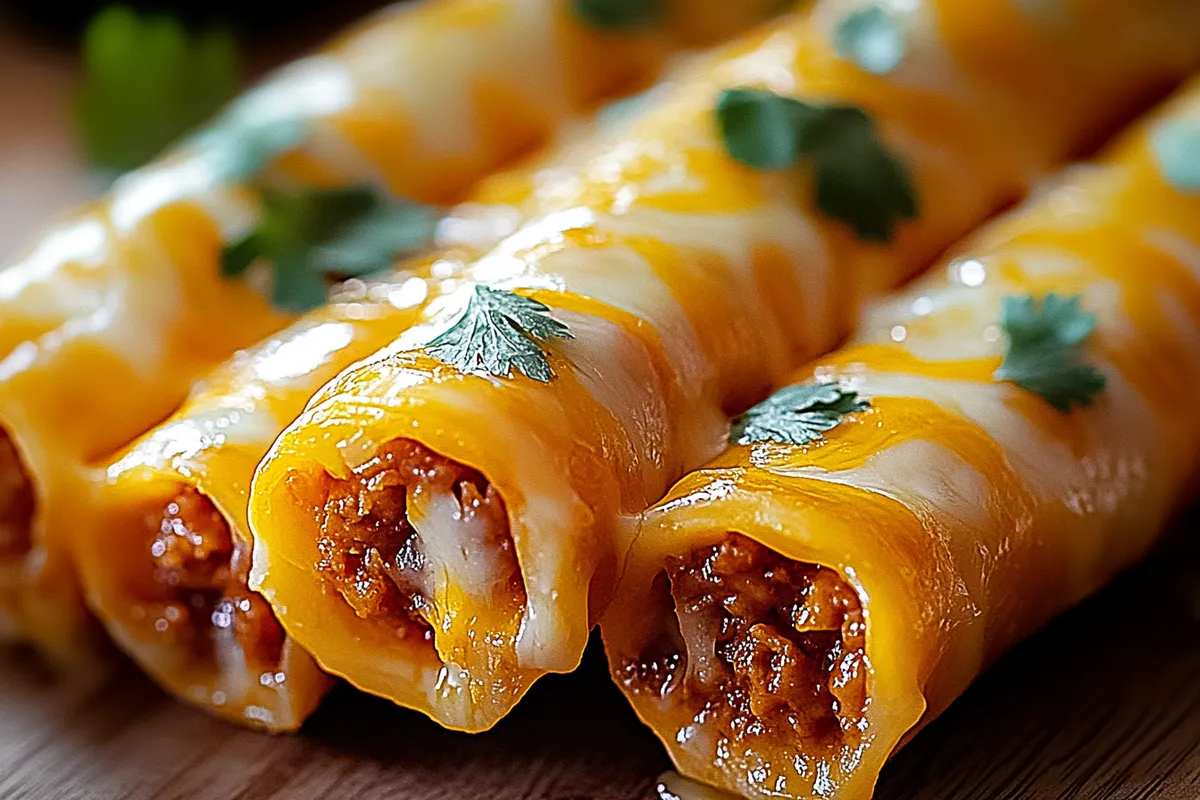
Are you ready to elevate your snack game? Cheesy Taco Sticks are not only a mouthwatering delight but also a versatile treat that can please any crowd. Imagine a perfect blend of melty cheese, seasoned beef, and a whisper of spice, all wrapped up in a golden, crispy exterior. These delectable sticks are sure to become a favorite at any gathering, whether it’s game day, movie night, or just a cozy evening at home.
Not only can you customize the filling to cater to your taste buds, but you can also experiment with different types of cheese or even add beans for a vegetarian twist. For those who crave a little heat, consider incorporating jalapeños or a drizzle of hot sauce. To guarantee that your cheesy sticks come out perfectly every time, make sure to preheat your oven properly and keep an eye on them as they bake. So, roll up your sleeves and get ready to dive into a recipe that combines comfort, flavor, and creativity in every bite!
Ingredients for Cheesy Taco Sticks:
To create delicious cheesy taco sticks that serve 8 to 10 people, gather the following ingredients:
For the Dough
- 2 cups all-purpose flour
- 1 tablespoon baking powder
- ½ teaspoon salt
- ½ cup unsalted butter, chilled and cubed
- ½ cup shredded cheddar cheese
- ½ cup buttermilk
For the Taco Filling
- 1 pound ground beef, turkey, or chicken
- 1 packet (1 ounce) taco seasoning mix
- ½ cup water
- 1 can (15 ounces) black beans, rinsed and drained
- 1 cup corn, frozen or canned
- 1 cup diced tomatoes, drained
- 1 cup shredded mozzarella cheese
For Topping and Serving
- 1 cup sour cream
- ½ cup guacamole
- ¼ cup sliced jalapeños (optional)
- Chopped fresh cilantro for garnish
- Chili powder or cayenne pepper for extra heat (optional)
Suggested Variations
- Try adding 1 cup of diced bell peppers or onions to the taco mixture for added flavor and crunch.
- For a vegetarian version, substitute ground meat with sautéed mushrooms or lentils.
- Experiment with different types of cheese, such as pepper jack, for a spicier kick.
- If you prefer a gluten-free option, swap all-purpose flour for a gluten-free blend.
Make sure all the ingredients are fresh to ensure the best flavor in your cheesy taco sticks. Each component plays a crucial role in creating this irresistible snack!
How to prepare Cheesy Taco Sticks:
Making Cheesy Taco Sticks is a fun and straightforward process. Follow these clear steps to create a delicious treat that everyone will love.
Gather Your Ingredients
Begin by collecting all the necessary ingredients for the recipe. You will need ground beef, taco seasoning, shredded cheese, and tortilla wraps. Don’t forget to prepare any additional toppings, like salsa or guacamole.
Cook the Meat Mixture
Start by heating a skillet over medium heat. Add the ground beef to the skillet and stir occasionally until it is browned. This should take about 7 to 10 minutes. Make sure to break apart any large clumps of meat.
Add Taco Seasoning
Once the beef is nicely browned, drain any excess grease. Sprinkle the taco seasoning evenly over the beef. Pour in a small amount of water, about 1/4 cup. Stir well to combine and let it simmer for around 5 minutes until the meat is fully coated and flavorful.
Assemble the Taco Sticks
While the meat is simmering, take your tortilla wraps and lay them flat on a clean surface. Spoon a generous amount of the seasoned beef mixture onto each wrap. Next, sprinkle a handful of shredded cheese over the meat. Be sure to distribute the filling evenly among all the tortilla wraps.
Roll the Tortillas
Carefully roll each tortilla from one end to the other. Ensure the filling is tightly wrapped inside. Place the rolled sticks seam-side down on a baking sheet lined with parchment paper. This will help prevent them from unrolling during baking.
Bake the Cheesy Taco Sticks
Preheat your oven to 400°F (200°C). Once it’s ready, place the baking sheet in the oven. Bake the taco sticks for about 15-20 minutes or until they turn golden brown and the cheese is melted.
Serve and Enjoy
After cooking, remove the cheesy taco sticks from the oven. Let them cool for a few minutes before cutting them into bite-sized pieces. Serve with your favorite dipping sauces like salsa, sour cream, or guacamole.
These cheesy delights are perfect for parties, game nights, or a quick and tasty meal!
Tips for the Perfect Cheesy Taco Sticks
Making cheesy taco sticks can be a fun and rewarding experience. Follow these tips to ensure you achieve the best flavor and texture.
Maintain the Right Temperature
Temperature plays a critical role in cooking. Preheat your oven to the recommended temperature before placing your taco sticks inside. This helps achieve a crispy exterior while keeping the inside gooey and cheesy. Use an oven thermometer to ensure that your oven is at the correct temperature. If you find that they’re not browning as expected, you can increase the temperature slightly for the last few minutes of baking.
Choose Quality Ingredients
Using fresh and high-quality ingredients can greatly enhance the flavor of your taco sticks. Opt for sharp cheddar cheese for a robust taste. For the meat or protein, try using grass-fed beef or organic chicken. Fresh vegetables like bell peppers, onions, and herbs can elevate the overall profile. Also, choosing a premium brand of tortillas will make them more pliable and less likely to tear.
Make Smart Substitutions
If you have dietary restrictions or preferences, don’t hesitate to make substitutions. For a vegetarian option, consider using black beans or lentils in place of meat. Vegan cheese can be substituted for standard cheese to accommodate dairy-free diets. You can also use whole wheat or gluten-free tortillas for those avoiding gluten.
Spice It Up
Add different spices or seasonings to create exciting flavors. Cumin, chili powder, or even smoked paprika can deepen the taste profile. If you’re daring, a dash of cayenne or crushed red pepper flakes will add some heat. Just remember to taste and adjust as you go!
Serve with Dippable Sides
To further enhance the experience, serve your cheesy taco sticks with sides that complement them. Guacamole, salsa, or a creamy queso sauce make excellent dippers. These additions not only provide flavor contrasts but also keep the meal interactive and fun.
By keeping these tips in mind, you can create cheesy taco sticks that are not just satisfying but also bursting with flavor. Enjoy crafting these tasty treats!
Storage Tips for Cheesy Taco Sticks:
To maintain the freshness and flavor of your cheesy taco sticks, follow these simple yet effective storage tips. Proper storage techniques not only keep them tasty but also extend their shelf life for you to enjoy later.
Cooling First
Before you store your cheesy taco sticks, always allow them to cool completely. Placing hot food in storage containers can create steam, leading to sogginess. Set them on a wire rack at room temperature for about 30 minutes. This quick cooling step makes a difference in texture once you reheat them.
Choosing the Right Storage Container
Opt for airtight containers to store your cheesy taco sticks. These containers minimize exposure to air, which can cause the sticks to dry out or become stale. Alternatively, you could use resealable plastic bags, removing as much air as possible before sealing. Always label the container with the date of storage for easy reference.
Optimal Storage Conditions
Store your cheesy taco sticks in the refrigerator if you plan to eat them within a few days. They typically remain fresh for 3 to 5 days when kept in proper conditions. For longer storage, consider freezing. Wrap each stick individually in plastic wrap or aluminum foil, then place them in a freezer-safe container. This method prevents freezer burn.
Thawing and Reheating
When you’re ready to enjoy leftovers, pull your cheesy taco sticks from the freezer and thaw them in the refrigerator overnight. If you’re in a hurry, you can use the microwave on the defrost setting. Reheat them in an oven at 350°F (175°C) for about 10 to 15 minutes. This method restores that crispy exterior and melty interior.
Shelf Life of Cheesy Taco Sticks
In the refrigerator, these delicious snacks last for 3 to 5 days as mentioned earlier. However, when frozen, they can last for up to 2 to 3 months. Make sure to check for any signs of spoilage, such as off smells or discoloration, before consuming.
By following these storage tips, you can enjoy your cheesy taco sticks at their best, whether you eat them fresh or save them for later.
Related Recipes to Cheesy Taco Sticks
If you love Cheesy Taco Sticks, you’ll likely enjoy these related recipes. They share similar flavors or use similar ingredients, making them perfect for a cohesive meal or snack lineup.
1. Spicy Nacho Cheese Quesadillas
These quesadillas bring the same bold flavor profile as taco sticks but in a crisp, cheesy format. Fill tortillas with nacho cheese and your favorite toppings, then grill until golden. The gooey cheese and spicy kick pair nicely with your taco sticks, offering a satisfying crunch in every bite.
2. Taco Salad Cups
These salad cups merge the fresh taste of a salad with the seasoned richness of tacos. Use tortillas to create crispy shells, then fill them with seasoned ground beef, lettuce, tomatoes, and your choice of toppings. This dish balances the heavy cheese from taco sticks with refreshing veggies.
3. Mexican Street Corn on the Cob
A great side dish, this grilled corn is slathered with a mix of mayo, cheese, lime juice, and chili powder. It complements the spices in your main dish while adding a sweet and tangy element. The creamy texture enhances your taco experience without overshadowing it.
4. Guacamole and Chips
This classic duo offers a creamy, avocado-based dip that perfectly complements any cheesy dish. The rich, smooth guacamole adds a refreshing contrast to crunchy tortilla chips, making it an engaging pairing for your cheesy snacks.
These recipes provide variety while echoing the delicious flavors of cheesy taco sticks. They allow for an enjoyable meal that feels cohesive and thoughtfully planned.
Frequently Asked Questions:
What are Cheesy Taco Sticks?
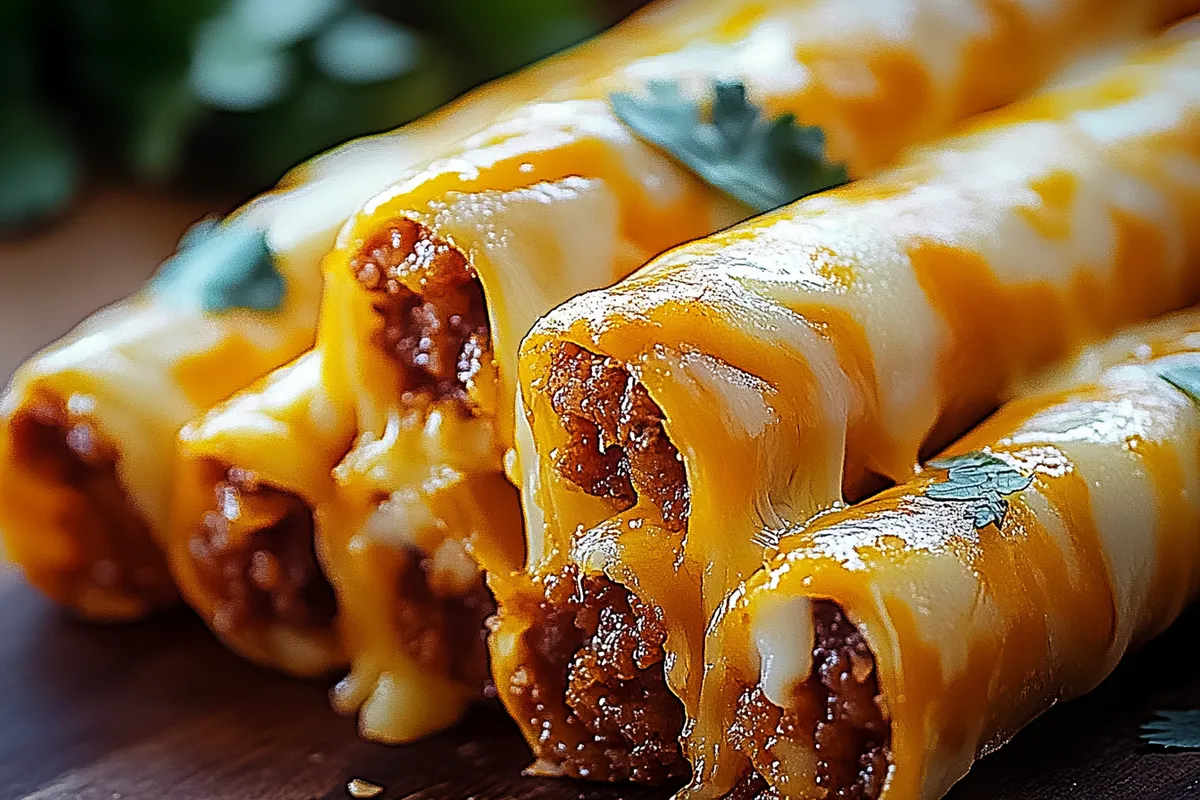
Cheesy Taco Sticks are a delicious fusion of your favorite taco flavors rolled into a cheesy snack. Typically featuring seasoned ground beef or turkey, along with melty cheese, these tasty treats are often wrapped in a soft tortilla or pastry and baked until golden brown. They make for a perfect appetizer, party snack, or even a fun family dinner option.
How can I customize the filling in Cheesy Taco Sticks?
You can easily customize the filling of your cheesy taco-inspired treats to suit your taste preferences. Consider incorporating ingredients like chicken, beans, or even vegetables for a meatless option. Adding fresh vegetables like bell peppers or onions can enhance the flavor and texture. Spice it up with jalapeños or different cheese varieties for a unique twist.
Can Cheesy Taco Sticks be made ahead of time?
Absolutely! These savory snacks can be prepared in advance. Assemble the sticks, then cover and refrigerate them before baking. When you’re ready to serve, simply pop them in the oven until they are heated through and crispy. This makes them ideal for parties or busy weeknight dinners.
What dipping sauces go well with cheesy taco treats?
There are numerous delicious dipping sauces that pair perfectly with cheesy taco treats. A classic option is salsa, which adds a zesty kick. Guacamole or sour cream are also fantastic choices, providing a creamy contrast. For those who enjoy a little heat, chipotle ranch or a spicy queso dip can elevate the flavors beautifully.
Are these cheesy snacks kid-friendly?
Definitely! Cheesy Taco Sticks are a hit with children and are great for introducing them to the flavors of tacos in a fun, appealing way. The cheesy goodness and hand-held format make them easy for kids to enjoy, and you can tailor the spice levels to suit younger palates.
What can I serve alongside Cheesy Taco Sticks?
To complement your cheesy taco snacks, consider serving a fresh salad or some crunchy tortilla chips with salsa. A side of Mexican street corn or a simple avocado salad could also provide a refreshing balance. These options round out the meal and create a vibrant, festive atmosphere at your dining table.
Conclusion:
In summary, Cheesy Taco Sticks offer a delightful and straightforward way to enjoy a flavorful twist on classic tacos. This recipe stands out due to its simplicity, making it perfect for both busy weeknights and laid-back gatherings. The flexibility of the ingredients allows for endless customization; whether you prefer spicy jalapeños or mild cheddar, you can tailor the flavors to suit your taste. Additionally, these cheesy delights can easily accommodate different dietary preferences, such as using gluten-free wraps or plant-based cheese. With a quick prep time and minimal cleanup, Cheesy Taco Sticks are a tasty, convenient option that brings comfort food to a whole new level. Embrace your creativity in the kitchen and enjoy a fun cooking experience the whole family will love!
Print
Cheesy Taco Sticks: A Deliciously Fun Snack Idea
- Total Time: 25 minutes
- Yield: 8 taco sticks 1x
Description
These cheesy taco sticks are a fun, handheld twist on classic tacos! Filled with seasoned beef and gooey cheese, they’re perfect for game nights, snacks, or a quick meal.
Ingredients
- 1 lb ground beef
- 1 packet (1 oz) taco seasoning
- ½ cup water
- 1 tube refrigerated pizza dough
- 1 ½ cups shredded cheddar cheese
- ¼ cup melted butter
- ½ tsp garlic powder
- 1 tbsp chopped fresh parsley (optional)
Instructions
1️⃣ Preheat oven to 375°F (190°C) and line a baking sheet with parchment paper.
2️⃣ In a skillet, cook ground beef over medium heat until browned. Drain excess fat.
3️⃣ Add taco seasoning and water, simmer for 3-4 minutes until thickened.
4️⃣ Roll out the pizza dough and cut into 8 rectangles.
5️⃣ Place a spoonful of taco meat and shredded cheese onto each rectangle.
6️⃣ Fold the dough over the filling, sealing the edges tightly.
7️⃣ Arrange on the baking sheet, brush with melted butter, and sprinkle with garlic powder.
8️⃣ Bake for 12-15 minutes or until golden brown. Garnish with parsley and serve warm
Notes
✔️ Dip in salsa, guacamole, or sour cream for extra flavor.
✔️ Use crescent roll dough for a flakier texture.
✔️ Store leftovers in the fridge for up to 3 days and reheat in the oven for best results.
- Prep Time: 10 minutes
- Cook Time: 15 minutes
Nutrition
- Calories: 280 kcal
- Carbohydrates: 22g
- Protein: 14g