
EASTER COOKIES
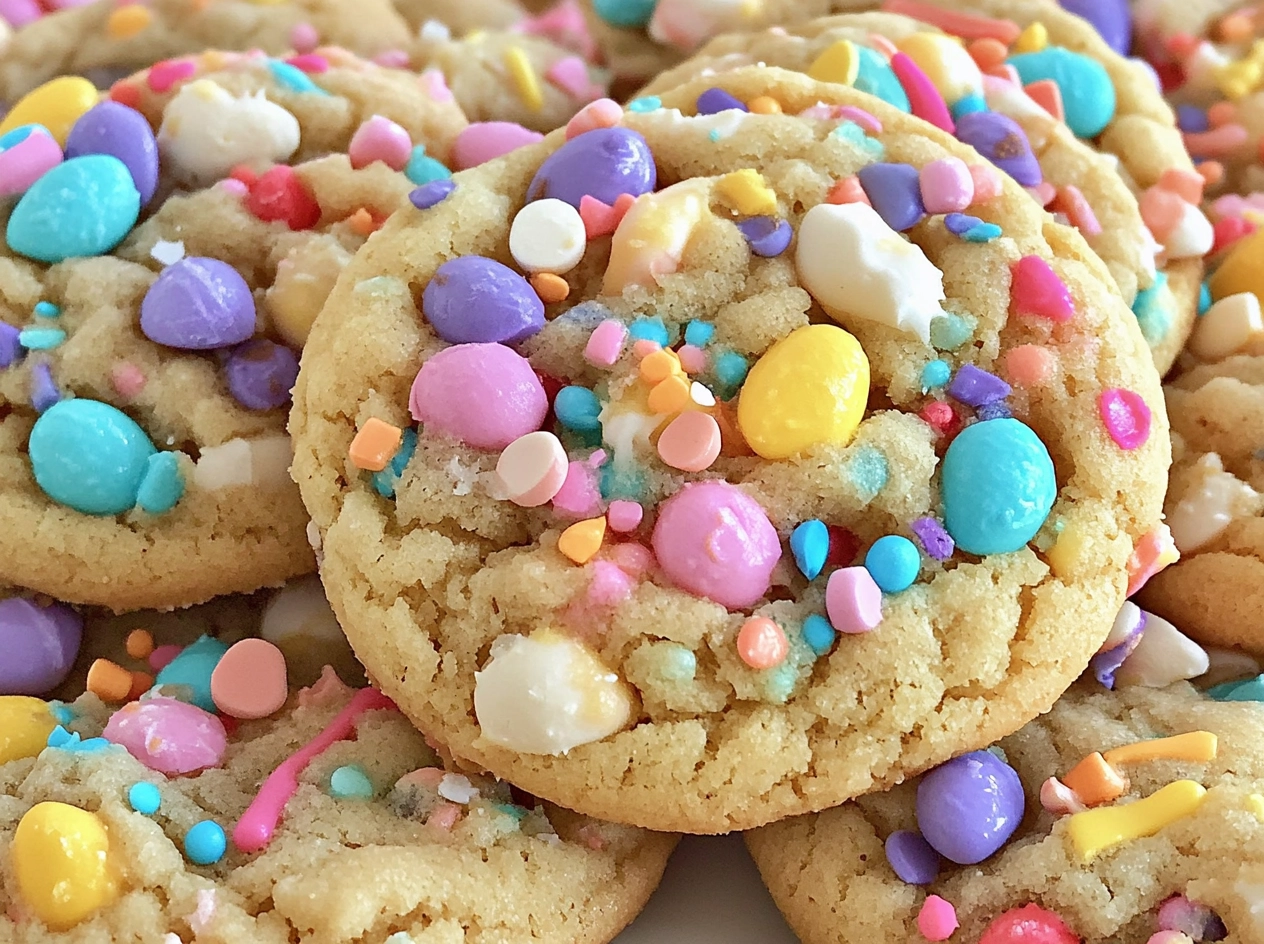
Easter is a time of renewal and celebration, making it the perfect occasion to create delightful treats. One cherished tradition is baking Easter cookies, a joyful activity that brings family and friends together. These cookies not only satisfy sweet cravings but also symbolize the essence of Easter and the spirit of sharing. This recipe will guide you through making enchanting cookies adorned with colors and flavors that echo the season. The preparation becomes a canvas for creativity, with endless chances for personal touch in both design and taste.
A Brief History of Easter Cookies
The tradition of baking cookies for Easter is steeped in history and culture. It is believed that Easter cookies date back to ancient times when people marked the celebration of spring and fertility with baked goods made from simple ingredients.
As Christianity spread, various customs merged, leading to the creation of cookies specifically designed for the Easter holiday. Over time, these baked goods evolved, incorporating influences from different regions and cultures. Some of the most notable variations include:
- Greek Koulourakia: Soft, twisted cookies that are often flavored with orange and sprinkled with sesame seeds.
- Italian Biscotti di Pasqua: Traditional Easter biscuits flavored with anise, usually shaped into festive designs.
- Polish Mazurek: A flat cake that often features colorful toppings and is typically enjoyed during Easter.
Each iteration of Easter cookies reflects the local traditions and ingredients, making them a beautiful representation of cultural heritage.
Necessary Ingredients
To create these delightful Easter cookies, you will need a mix of essential ingredients consisting of dry and wet components, as well as decorations to make your cookies stand out. Here’s a breakdown:
Dry Ingredients
- All-purpose flour: This is the foundation of your cookie dough.
- Baking powder: To give your cookies a fluffy, light texture.
- Granulated sugar: For sweetness; you can also use brown sugar for a richer flavor.
- Salt: Balances the sweetness and enhances overall flavor.
- Optional spices: Such as cinnamon or nutmeg for added warmth.
Wet Ingredients
- Eggs: Provides richness and helps bind the cookie dough.
- Butter: Unsalted butter is preferred for control over salt levels.
- Vanilla extract: This adds a delightful flavor that complements the cookies.
- Milk: A little may be used to adjust the dough consistency.
Decorations
- Frosting: A simple powdered sugar glaze or colorful buttercream frosting works wonders.
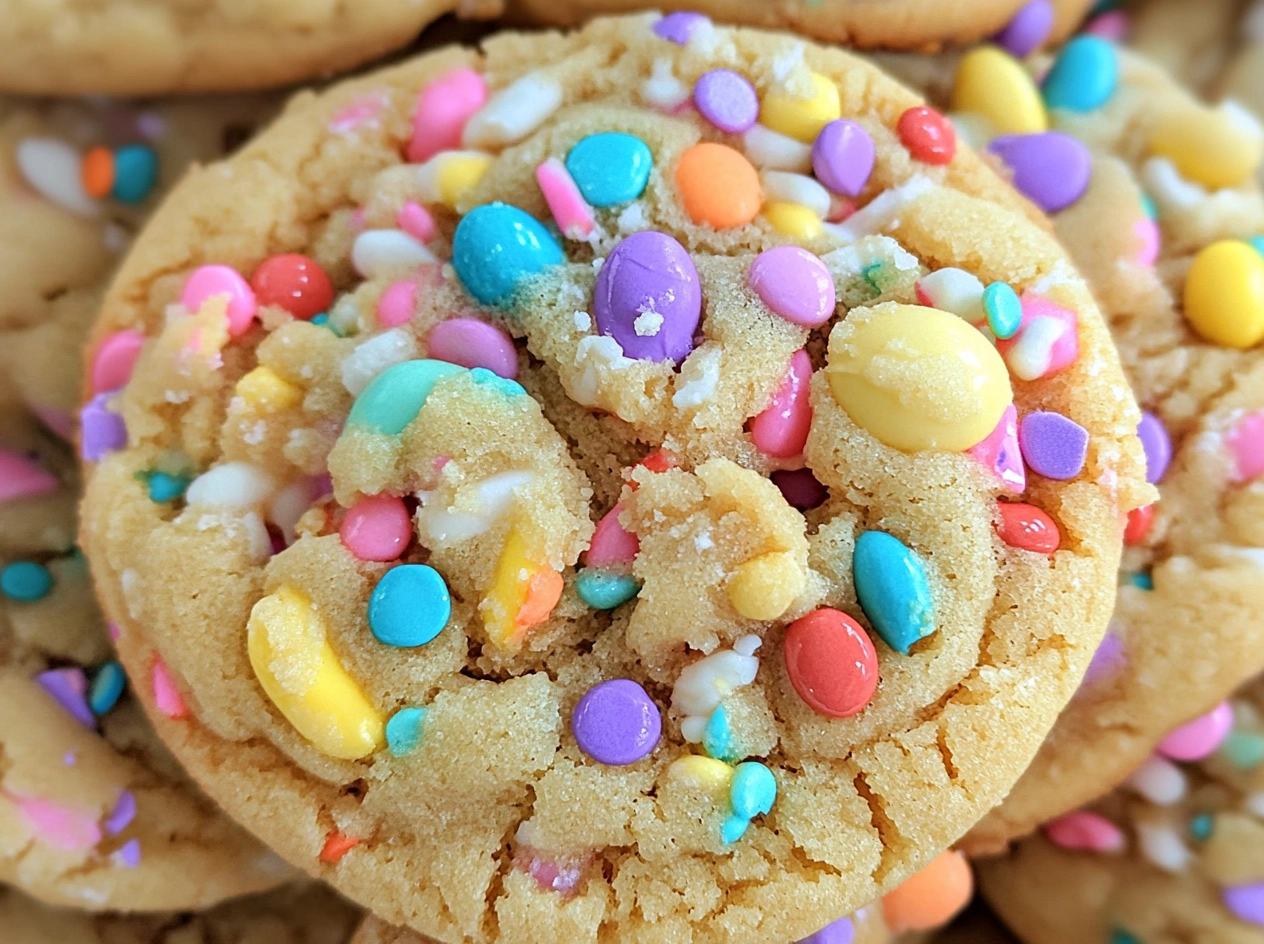
- Sprinkles: Edible decorations that enhance the visual appeal.
- Chocolate chips: These can be mixed into the dough or used as toppings.
Required Tools
Before diving into the baking process, ensure you have all the necessary tools at hand to make your experience smoother:
- Mixing Tools: A large mixing bowl and a whisk or electric mixer to blend ingredients thoroughly.
- Baking Tools: Baking sheets, parchment paper, and an oven preheated to the right temperature.
- Cookie Cutters: Various shapes (like bunnies, eggs, and flowers) to make your cookies fun and festive.
- Decoration Tools: Piping bags for frosting, offset spatula for spreading icing, and small brushes for delicate designs.
Step-by-Step Preparation Guide
Here’s a detailed, step-by-step guide to help you create the perfect Easter cookies, from mixing the dough to the final decoration.
Preparing the Dough
- Cream the Butter and Sugar: In a large bowl, beat together the softened butter and granulated sugar until the mixture is light and fluffy.
- Add Eggs and Vanilla: Mix in the eggs one at a time, followed by the vanilla extract, blending until combined.
- Combine Dry Ingredients: In a separate bowl, whisk together the all-purpose flour, baking powder, and salt. Gradually add this dry mix to the wet ingredients, stirring until just combined. Avoid over-mixing.
Shaping the Cookies
- Chill the Dough: Wrap the dough in plastic wrap and chill it in the refrigerator for at least 30 minutes. This step helps to firm up the dough, making it easier to roll out.
- Roll Out the Dough: On a lightly floured surface, roll out the chilled dough to about ¼ inch thick. Use cookie cutters to cut into desired shapes, placing them on a baking sheet lined with parchment paper.
Baking the Cookies
- Preheat the Oven: Preheat your oven to 350°F (175°C).
- Bake Cookies: Bake in the preheated oven for 8-10 minutes or until the edges are just beginning to turn golden. Remove from the oven and let them cool on the baking sheet for a few minutes before transferring to a wire rack to cool completely.
Decorating the Cookies
- Prepare the Frosting: In a small bowl, mix powdered sugar with a little milk and vanilla to create a frosting that can hold its shape. Adjust the consistency by adding more sugar or milk as needed.
- Frost and Decorate: Use piping bags to decorate the cookies with frosting. Add sprinkles or any additional decorations while the frosting is still wet for the best adherence.
Cooling and Storing
- Cool Completely: Allow the cookies to cool completely before stacking them or placing them in containers. This prevents them from sticking together.
- Store: Keep cookies in an airtight container at room temperature for up to one week.
Tips and Tricks for Perfect Easter Cookies
To ensure your Easter cookies are a hit, consider these helpful tips:
How to Achieve the Right Consistency
- Ensure your butter is softened to room temperature for easier creaming with sugar.
- Flour should be spooned into the measuring cup and leveled for accuracy. Too much flour can lead to dry cookies.
How to Decorate Like a Pro
- Use gel food coloring for more vibrant shades without altering the frosting’s texture.
- Practice piping skills on parchment paper before decorating actual cookies to gain confidence.
How to Prevent Cookies from Spreading Too Much
- Keep the cookie dough chilled before baking and ensure that the baking sheet is cool before placing new cookies on it.
- Avoid overmixing the dough; this develops gluten and can lead to excessive spreading.
Storing Tips to Keep Them Fresh Longer
- Store cookies in an airtight container, adding a slice of bread to retain moisture.
- Avoid stacking cookies until they are fully cooled to prevent sticking.
Designing and Decoration Ideas
Unleash your creativity with these exciting design and decoration ideas for your Easter cookies:
Traditional Easter Designs
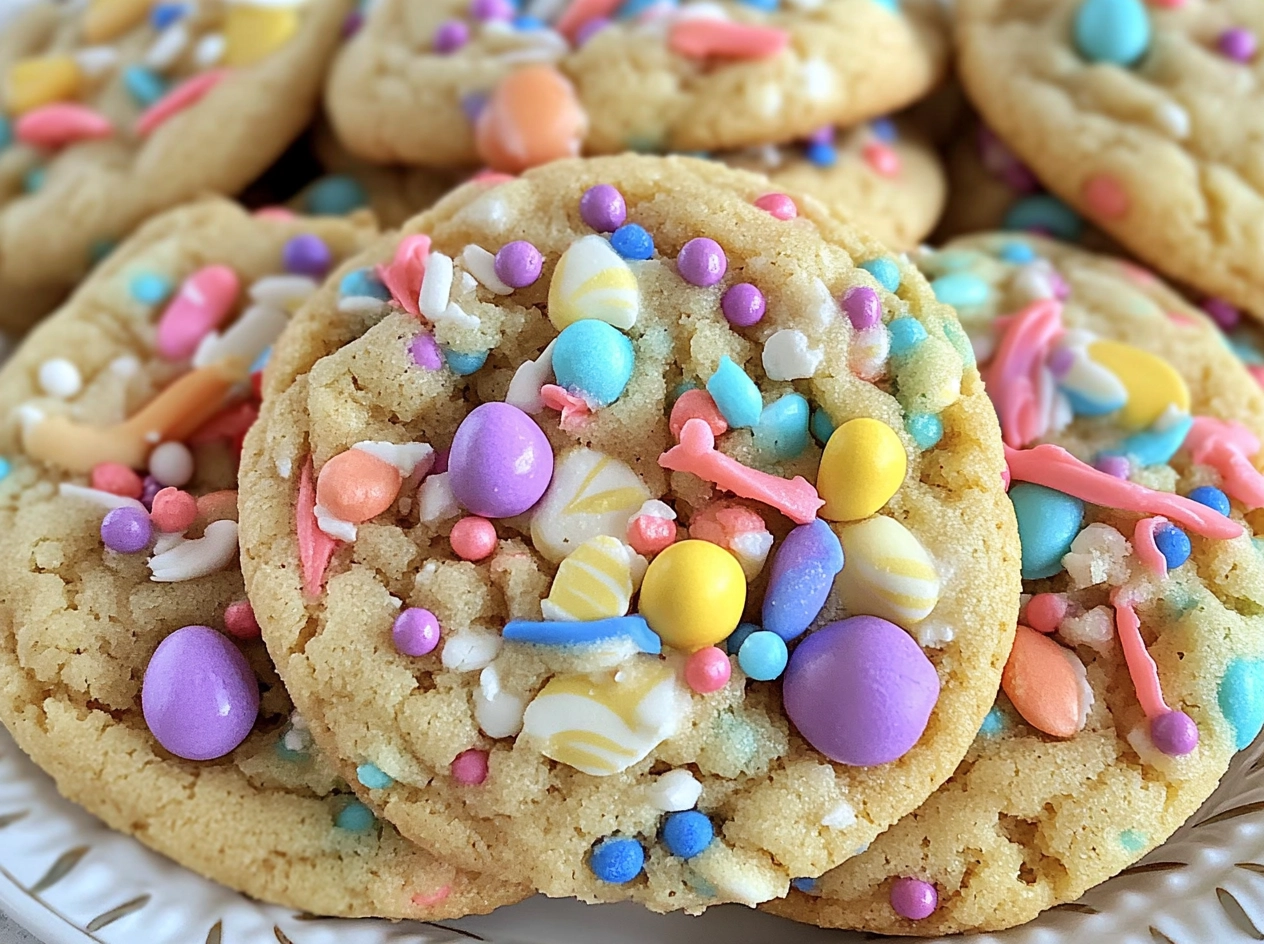
- Pastel Colors: Use soft shades like baby pink, blue, and yellow for a classic Easter look.
- Crosses or Eggs: Create cookie shapes resembling crosses or decorated eggs to symbolize the Easter holiday.
Creative and Unique Designs
- Floral Patterns: Decorate cookies in the shape of flowers using colored icing.
- Animal Themes: Craft bunnies, chicks, or lambs, and use different colored frosting to detail their features.
Colorful Decoration Ideas
- Royal Icing: Create intricate designs using royal icing for a polished finish.
- Candy Decorations: Use small candies like jellybeans or chocolate eggs for a festive touch.
Storing and Serving Tips
For the best experience, keep these storing and serving tips in mind:
- Optimal Temperature for Storing: Ideally, store cookies at room temperature in a dry place.
- Shelf-life Details: Homemade Easter cookies can last up to a week at room temperature. For longer-lasting options, consider freezing them.
- Serving Suggestions: Present cookies in colorful baskets or as part of an Easter brunch spread. You can also gift them to friends and family as thoughtful treats.

FAQs
Can I make these cookies vegan/gluten-free?
Yes! Substitute eggs with flaxseed meal or applesauce for vegan options and use gluten-free flour blends to cater to gluten-free diets.
Can I prepare the dough ahead of time?
Definitely! You can make the dough a day in advance and store it in the refrigerator. Just let it sit at room temperature for a few minutes before rolling out.
How do I keep the cookies soft?
To maintain softness, don’t overbake cookies. Also, consider adding a tablespoon of corn syrup to the dough for moisture retention.
What kind of frosting works best?
Buttercream and royal icing are popular choices. Buttercream offers a creamy texture, while royal icing hardens beautifully, making it great for intricate designs.
Conclusion
Making Easter cookies is a heartfelt tradition that adds joy and sweetness to the festive season. As you create and decorate these cookies, you’re not just following a recipe; you’re building memories with loved ones. Dive into this delightful activity, revel in the joy of baking, and keep the tradition alive for generations to come!
Print
EASTER COOKIES
- Total Time: 1 hour
- Yield: 24 cookies
- Diet: Vegetarian
Description
Delightful Easter cookies adorned with colors and flavors that echo the season, perfect for celebrating Easter with family and friends.
Ingredients
All-purpose flour, Baking powder, Granulated sugar, Salt, Optional spices (cinnamon or nutmeg), Eggs, Unsalted butter, Vanilla extract, Milk, Frosting (powdered sugar glaze or buttercream), Sprinkles, Chocolate chips
Instructions
Cream the Butter and Sugar: In a large bowl, beat together the softened butter and granulated sugar until the mixture is light and fluffy., Add Eggs and Vanilla: Mix in the eggs one at a time, followed by the vanilla extract, blending until combined., Combine Dry Ingredients: In a separate bowl, whisk together the all-purpose flour, baking powder, and salt. Gradually add this dry mix to the wet ingredients, stirring until just combined. Avoid over-mixing., Chill the Dough: Wrap the dough in plastic wrap and chill it in the refrigerator for at least 30 minutes. This step helps to firm up the dough, making it easier to roll out., Roll Out the Dough: On a lightly floured surface, roll out the chilled dough to about ¼ inch thick. Use cookie cutters to cut into desired shapes, placing them on a baking sheet lined with parchment paper., Preheat the Oven: Preheat your oven to 350°F (175°C)., Bake Cookies: Bake in the preheated oven for 8-10 minutes or until the edges are just beginning to turn golden. Remove from the oven and let them cool on the baking sheet for a few minutes before transferring to a wire rack to cool completely., Prepare the Frosting: In a small bowl, mix powdered sugar with a little milk and vanilla to create a frosting that can hold its shape. Adjust the consistency by adding more sugar or milk as needed., Frost and Decorate: Use piping bags to decorate the cookies with frosting. Add sprinkles or any additional decorations while the frosting is still wet for the best adherence., Cool Completely: Allow the cookies to cool completely before stacking them or placing them in containers. This prevents them from sticking together., Store: Keep cookies in an airtight container at room temperature for up to one week.
Notes
To ensure your Easter cookies are a hit, consider these helpful tips: Ensure your butter is softened to room temperature for easier creaming with sugar. Flour should be spooned into the measuring cup and leveled for accuracy. Too much flour can lead to dry cookies.
- Prep Time: 30 minutes
- Cool Time: 30 minutes
- Cook Time: 10 minutes
- Category: Dessert
- Method: Baking
- Cuisine: American
Nutrition
- Serving Size: 1 cookie
- Calories: 150
- Sugar: 10g
- Sodium: 100mg
- Fat: 6g
- Saturated Fat: 4g
- Unsaturated Fat: 2g
- Trans Fat: 0g
- Carbohydrates: 20g
- Fiber: 0g
- Protein: 2g
- Cholesterol: 30mg
Keywords: Easter cookies, baking, cookies, Easter treats, holiday baking